Leveling tools have come a long way since those old bubble vials everyone used back in the day. Back then, people relied on those glass tubes filled with liquid where they'd look for that tiny air bubble sitting right in the middle. Pretty simple stuff but required constant adjusting until everything was perfectly level. Fast forward to today and we've got these fancy laser levels that basically do all the work for us. They shoot out bright red lines across walls and floors, making sure things are straight without needing to crawl around checking every inch. According to some research floating around, folks who switch to laser tech report cutting their mistakes down by almost half compared to when they were wrestling with bubbles. Most craftsmen still keep a good old bubble level handy for quick spot checks on smaller jobs though. Combining both approaches gives builders the best of both worlds really – the hands-on feel of traditional leveling mixed with the pinpoint accuracy lasers bring to bigger projects.
Laser guided tools deliver amazing accuracy, sometimes hitting within 1/16th of an inch even at 100 feet away something that just cant be done with old school bubble levels. Contractors and homeowners alike love how much time these devices save when working on jobs where getting things level matters. Newer models come with better visibility for those tricky situations where light is poor, plus they can measure distances accurately too. This makes them useful for weekend warriors fixing up their homes as well as pros building commercial spaces. The fact that lasers stay put across large work areas means fewer stops and starts compared to traditional leveling methods. Most people who switch to laser systems find themselves finishing projects faster while still maintaining that critical level of precision throughout.
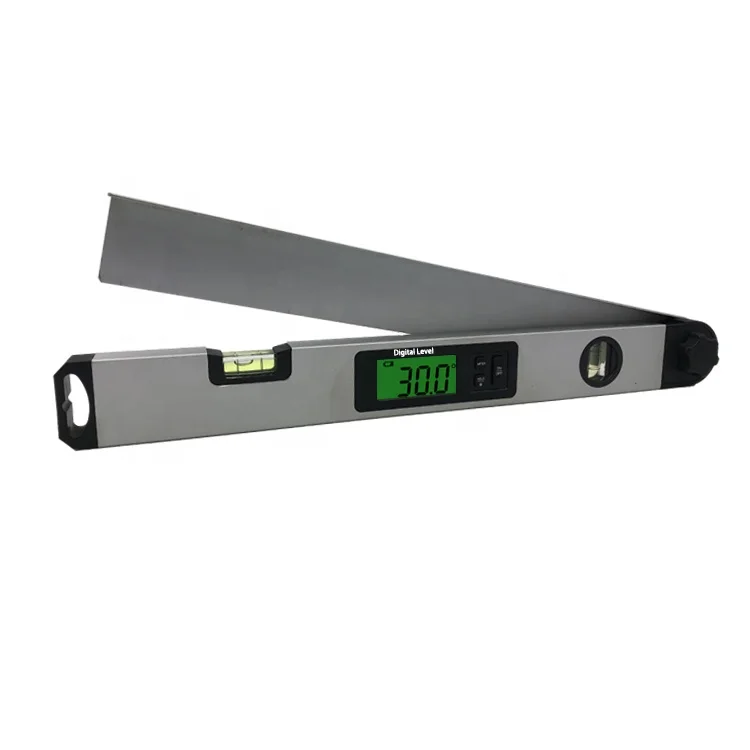
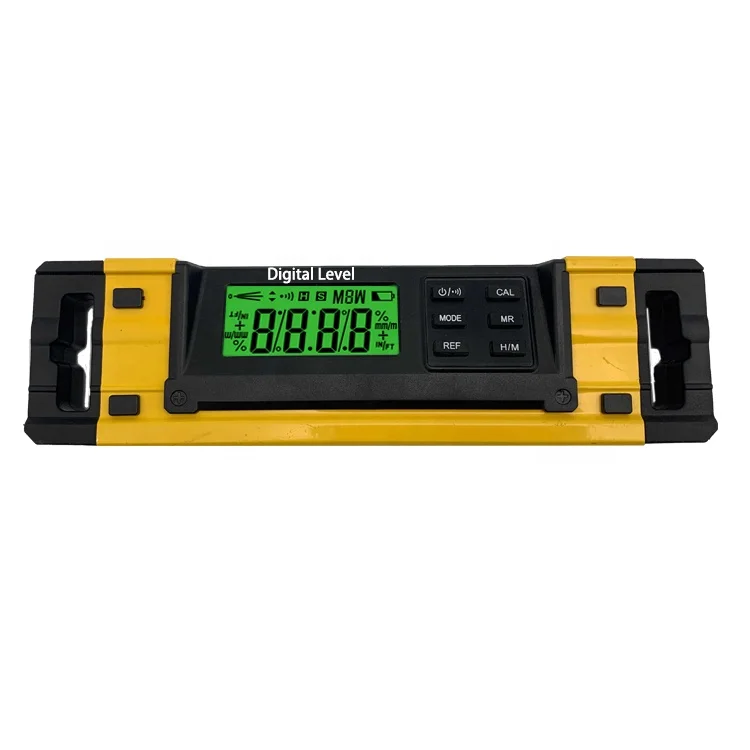
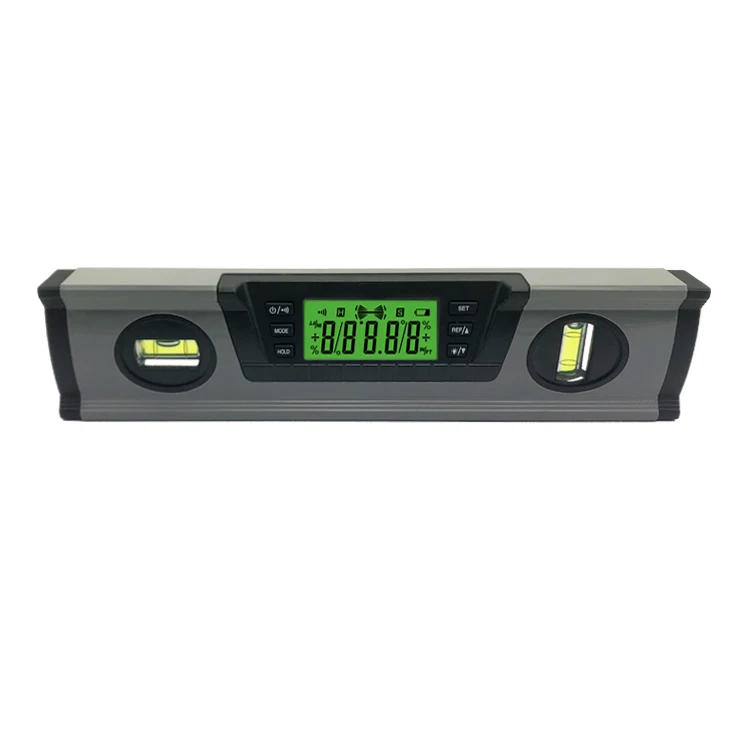
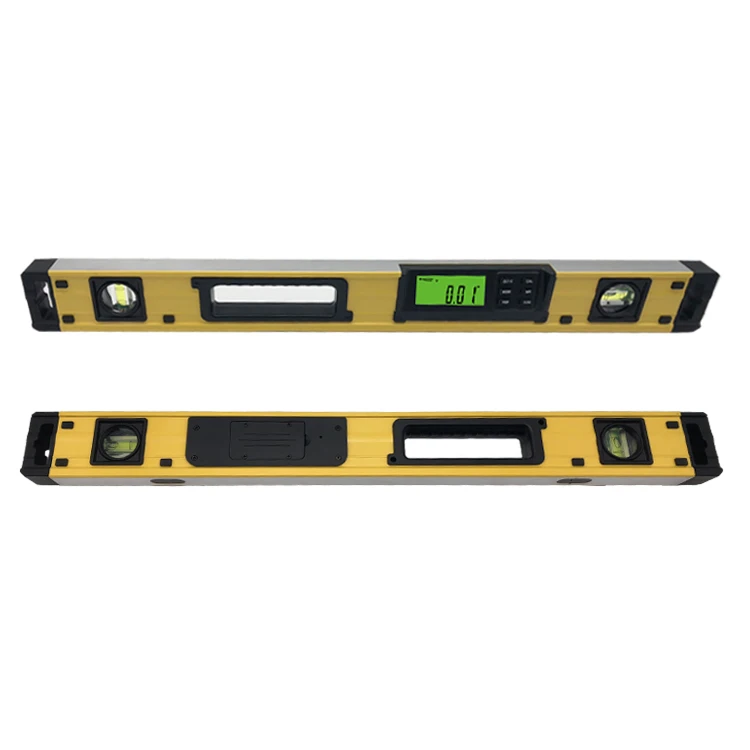
The self leveling feature found in many modern digital levels makes all the difference for getting accurate readings without hassle. When placed on any surface, these devices automatically find their balance point, so there's no need to fiddle with adjustments manually. What does this mean practically? Fewer mistakes happen because of crooked surfaces or improper positioning. According to industry reports, people who use self leveling tools tend to make about half as many errors compared to those relying on old fashioned bubble levels. That kind of improvement matters a lot, especially when working on home improvement tasks like installing cabinets or mounting shelves. Even folks new to carpentry can achieve better results since the tool handles most of the guesswork. Just place it down and read the numbers straight off the screen without worrying about whether it's actually level or not.
Laser guided levels with 360 degree projection really step up their game when it comes to handling all sorts of tricky job sites. These tools throw out continuous lines that wrap around whole rooms or complicated spaces, making them super handy for anything from laying down floor tiles to setting up ceiling grids. No need to keep moving the laser back and forth across the room, which saves time and headaches during installation work. Take big renovation jobs with several workers on site for example everyone can access those projected lines simultaneously without standing around waiting for someone else to finish their part first. That kind of collaboration definitely boosts productivity. The real magic happens in awkwardly shaped rooms or areas with weird architectural bits sticking out everywhere. Traditional methods would require constant adjustments, but with this feature, contractors get straight lines right away no matter how strange the space looks.
When laser levels get paired up with other handy tools like laser measures, it makes all sorts of projects much more accurate and efficient. The way these tools work together creates really smooth workflows for people who need to switch back and forth between taking measurements and getting things level. Take kitchen installations for instance. Someone working on cabinets might combine a laser level with a digital angle finder plus a moisture detector. This setup saves tons of time because everything lines up so well right from the start. Most folks who have tried this kind of system talk about how much easier their jobs become. They don't waste time constantly adjusting equipment manually anymore. Just point, measure, check angles, spot damp spots if needed, and everything falls into place faster than before. We're seeing this trend across both home improvement enthusiasts and pros in the field these days. Tools just keep getting smarter and working better together, which means real improvements in what people actually accomplish day to day.
Laser guided systems really boost accuracy when it comes to hanging walls and installing cabinets, cutting down those frustrating alignment problems we all face. Old school techniques rely heavily on guessing whether something is actually level, leading to crooked shelves and sometimes even damage to structures over time. These modern laser tools deliver spot on measurements so whatever gets mounted stays straight from day one. Take cabinets installed on slanted floors as an example. A good quality laser level creates that perfect horizontal reference point across varying floor heights, making everything line up just right. Most people who have tried these devices report much better results than traditional bubble levels ever gave them, which explains why they've become so popular in recent years among both professionals and weekend warriors tackling home projects.
Laser levels make a big difference when laying tiles or working on flooring jobs. These tools project clean lines across surfaces which helps position each tile exactly where it should go. Fewer mistakes mean less frustration and fewer wasted materials from cutting errors. Some stats out there suggest that getting help from laser guides cuts down on installation time by about half, which obviously saves money too. Many experienced tilers and serious DIY folks swear by them after seeing how much better their finished floors look. The alignment is spot on, creating those seamless patterns that really transform a space from just functional to something special.
For anyone working on outdoor landscaping jobs, rotary laser guidance has really changed the game when it comes to getting those grade levels right and laying out building foundations properly. What these devices do basically is shoot out a laser beam that spins all around, creating a reference point that covers large spaces. This makes them super useful for things like getting garden beds level or figuring out where to place patio stones. When someone needs to set the right height for a backyard terrace or prepare soil for a fresh lawn installation, having one of these lasers on site makes life much easier. Landscapers who have used them swear by how precise they are at marking exact grade levels, which means better looking finished projects without breaking a sweat over manual measurements.
Accuracy-wise, laser levels really stand out when compared to old school bubble levels and even digital ones. Take those 3D laser models for instance they can shoot straight lines accurate down to tiny fractions of an inch over long distances something regular bubble levels just cant match. Digital levels do give numbers on screen, but folks still need to adjust them manually. Lasers work differently though they automatically keep things level in real time so there's no fiddling around with adjustments all day long. Where these tools shine is big spaces like construction zones or home improvement jobs where getting things exactly right matters a lot think installing cabinets or laying tiles properly. Many people who've switched from traditional methods report better results with both digital and laser options, especially when hanging shelves or positioning heavy furniture where being off by even a little makes a huge difference.
Laser levels save a ton of time when working on projects with multiple angles compared to old school methods. These devices give instant and consistent alignment across all directions, so there's no need to constantly measure things manually which can be really frustrating and prone to mistakes. Take digital angle finders for instance they keep needing adjustments again and again while laser guides let workers get everything set up quickly, cutting down on steps needed and making things much more accurate. Contractors who have switched over to laser levels report workflow improvements that cut their project times noticeably. This works wonders particularly for jobs with complex angles like installing stairs or remodeling kitchens where those crosshairs from the laser create clear reference points that help avoid costly errors during installation.
Regular calibration is essential for maintaining the consistent performance of laser tools, as outlined by many manufacturer guidelines. To effectively calibrate your laser level, follow these steps:
DIYers often make the mistake of not checking calibration after moving or dropping the unit. By regularly testing and adjusting your laser level, you reduce errors and enhance measurement precision, whether you're working on a small home project or larger construction undertakings.
Optimizing battery life in cordless laser levels is crucial to ensure sustained functionality and efficiency. Here are some tips for better battery management:
Proper battery maintenance not only enhances the tool's functionality but also its lifecycle. According to expert recommendations, adhering to these habits can significantly extend your laser level's operational time, ensuring that it remains a reliable companion for your projects.
Using laser tools at home requires adherence to strict safety protocols to prevent accidents and injuries. Here are key safety practices:
Statistics show improper laser use can lead to eye injuries, emphasizing the importance of following laser safety guidelines. By adhering to these best practices, you can minimize risks and maximize both safety and productivity in your home workshop.
 Hot News
 CH
CH